8 Simple Ways to Organize a Small Kitchen
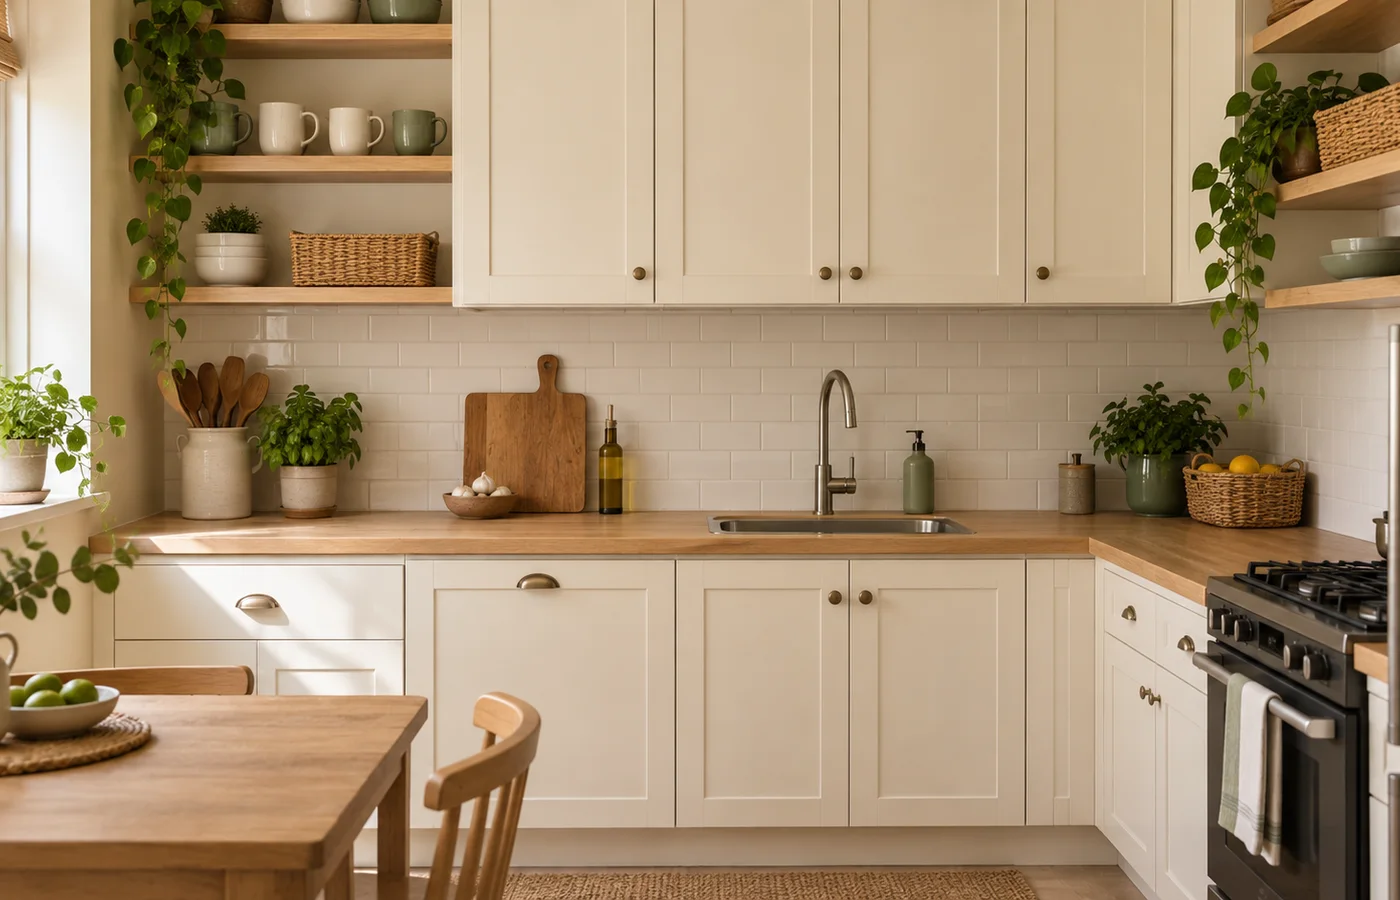
Make a small kitchen easier to use with eight practical organization ideas for counters, cabinets, drawers and overlooked storage spaces.
Read article : 8 Simple Ways to Organize a Small KitchenPractical organization ideas that help make small homes feel cleaner, calmer and more functional.
In a small home, everyday items can take over surfaces when they have no clear place to go. Keys land on the kitchen counter, laundry collects on a chair, and the cupboard you rarely open becomes a hiding place for everything else.
The goal of small space organization is to make the things you use easy to reach and easy to put away. That means working with your habits, measuring the space you actually have, and keeping some room free. Filling every corner with a container can make a room feel more crowded, even when the containers match.
Before trying these ideas, choose one troublesome area. A single drawer or the space beside your front door is enough. Notice what collects there, decide what belongs, and make one improvement you can maintain. You don’t need to reorganize your whole home in a weekend.
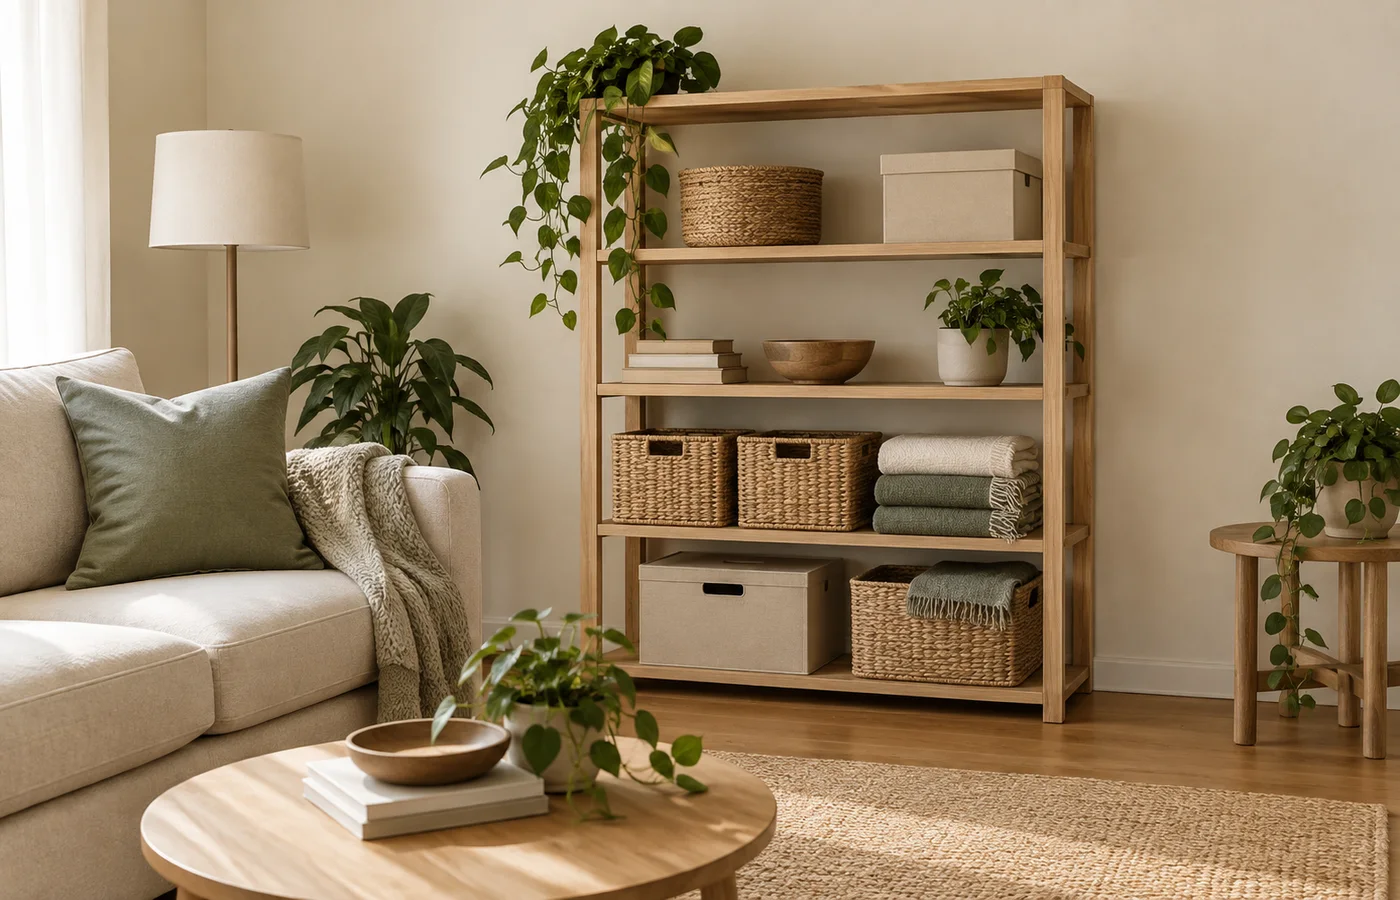
When floor space is limited, look up. The area above a desk, a narrow stretch of wall beside a doorway, or the upper part of a wardrobe can hold things that currently occupy your floor. Tall shelving can be especially useful because it gives you several storage levels within one footprint.
Give each level a purpose. Keep frequently used objects between waist and shoulder height, lighter seasonal items higher up, and heavier objects low down. This arrangement makes daily use easier and helps prevent a top-heavy shelf.
Don’t treat every empty wall as a storage opportunity. A shelf that projects into a walkway, crowds a doorway, or makes a small desk feel enclosed may create a new problem. Check clearance before committing. Secure tall furniture according to the manufacturer’s instructions, and use fixings appropriate for your wall type and the expected load.
Move one group of lightweight, rarely used items to an existing upper shelf. See whether the space you gain below makes your routine easier.
Under-bed space works well for things you don’t need every morning: spare bedding, out-of-season clothing, or a small collection of travel accessories. Low containers with lids keep these items together and make them easier to retrieve than loose bags pushed into the middle.
Measure the height beneath the bed and the width of the opening before choosing containers. Include handles, lids, wheels, and any support legs in your measurements. If you can’t pull a box out without moving furniture, it won’t be convenient storage.
Store only clean, fully dry items. Avoid compressing delicate fabrics indefinitely, and check the area occasionally for dust or moisture. Label the end of each container that faces outward so you can find winter bedding without opening every box.
If a bed already has drawers, leave enough room beside it for them to open fully. Built-in storage is helpful only when you can actually access it.
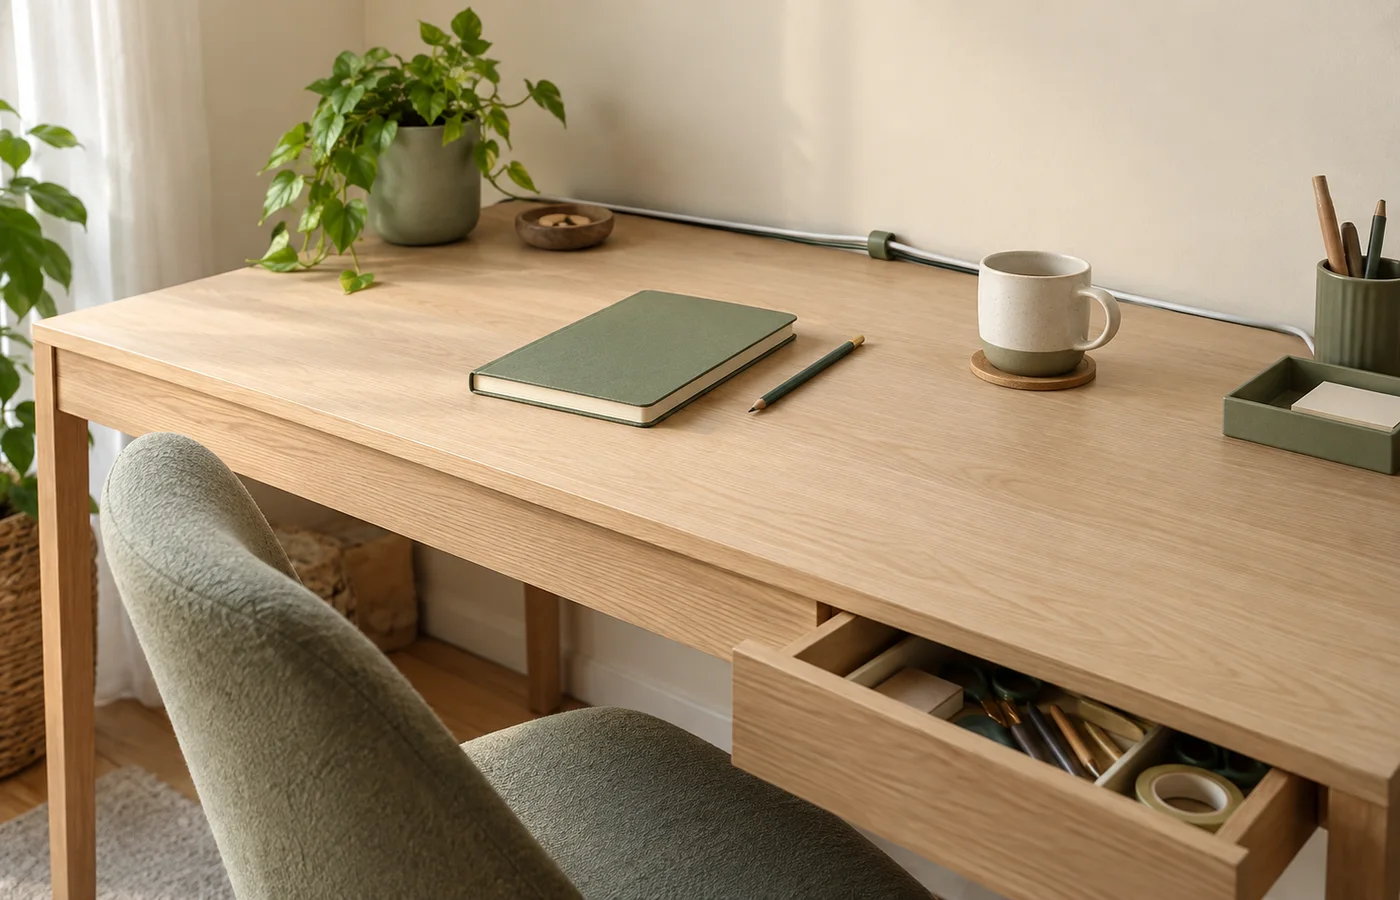
A drawer can look full while containing plenty of usable space. The issue is often small items drifting into a mixed pile. Dividers create boundaries so that cables, utensils, stationery, and grooming supplies each have a clear home.
Empty the drawer first. Remove duplicates, broken items, and anything that belongs somewhere else. Then group what remains by how you use it. Scissors and tape might belong together even if they aren’t made from matching materials.
Start with spare small boxes before buying a divider set. A shallow box can show you whether a layout works. Once you know the arrangement, measure the drawer’s interior, including its usable height, and choose dividers that suit the contents.
Leave a little breathing room. If a section is packed tightly, putting an item away will feel like solving a puzzle. Leave enough space to return things easily.
The inside of a cupboard door or the back of a bedroom door can provide storage without taking up another patch of floor. Over-door organizers can hold light accessories, while a few hooks can give bags or dressing gowns a reliable place to return to.
Check the door’s thickness and the gap at the top before choosing an over-door rack. Some fittings prevent a door from closing properly or mark the frame. Test the fit before loading it, and follow the stated weight limit.
Inside cupboards, check that an organizer won’t collide with a shelf or the items on it. A narrow holder for cleaning cloths may work; a deep basket might prevent the door from shutting.
Keep this storage selective. Too many visible bags and hanging items can make a room feel busy. If the door is always open, reserve the hooks for things you reach for most often.
Stackable containers can use the height inside a cupboard more efficiently, particularly when the existing shelves are far apart. They work best when you group similar items and can access them without dismantling an unstable tower.
For things used daily, consider containers with front openings or drawers. Lidded boxes are more suitable for items you retrieve occasionally. A box for spare party supplies can sit beneath another; your breakfast essentials shouldn’t require daily unstacking.
Check that lids fit securely, that the base rests evenly, and that the combined stack is within reach. Avoid putting heavy containers above shoulder height. Choose food-safe containers for food, and follow their cleaning and storage instructions.
You don’t need to replace every container at once. Work with what you have, and buy matching sizes only where a consistent footprint solves a specific space problem.
A small floating shelf can give everyday objects a home where a cabinet won’t fit. In a kitchen, that might be a few frequently used mugs. In a bedroom, it might replace a bulky bedside table. Above a workspace, it can hold reference books without taking over the desk.
Make the shelf serve a clear purpose before installing it. Write down what you’ll place there, check the depth of those objects, and leave room to pick them up. A very shallow shelf looks neat but won’t safely support everything.
In bathrooms, choose materials and fittings suitable for moisture. In kitchens, avoid locations where cooking grease will make open storage hard to maintain. Keep fragile or heavy objects away from places where people sit or sleep if there is a risk of them falling.
Open shelves need occasional cleaning, so don’t fill them edge to edge. Leave space to reach each item and wipe the shelf.
If you’re already replacing furniture, a piece with hidden storage can do two jobs within the same footprint. Storage ottomans, benches, beds with drawers, and coffee tables with compartments can provide a home for things that otherwise need a separate cabinet.
Think about access as carefully as capacity. An ottoman is a reasonable place for throws, but a poor home for an item you need while someone is sitting on it. A coffee table with a lift-up lid may require clearing its surface every time you want to open it.
Measure the furniture in both its closed and open positions. Leave space for drawers, hinged lids, and people moving around it. Check the product’s dimensions and instructions; a room photograph won’t tell you whether it fits.
Before replacing furniture, see whether a spare basket beneath an existing bench, or a cleared shelf in a cabinet, can meet the same need.
A storage zone is simply a place for items used in the same activity. Keep coffee supplies near the kettle, laundry supplies near the washing machine, and writing tools near the desk. Grouping by purpose reduces trips across the room and makes putting things away more intuitive.
Watch where items naturally collect. If keys always land beside the entrance, a small tray there may work better than a carefully labeled drawer in another room. Let the system follow the routine when you can.
Zones don’t need dedicated furniture. A shelf, a drawer section, or a portable caddy can be enough. In shared homes, agree on what belongs in each zone so the organization makes sense to everyone.
For cabinet and counter layouts, see 8 Simple Ways to Organize a Small Kitchen.
Allow a little space for items in transition, such as a book to return or a parcel to send. Give that space a regular clearing time so it doesn’t become permanent overflow.
Small bathrooms often have limited floor storage but unused wall space. A shallow shelf, a suitable wall-mounted organizer, or hooks for towels can keep essentials accessible without adding another cabinet beside the sink.
Store daily items within comfortable reach and reserve higher shelves for spare supplies. Keep paper products away from splashes and avoid packing damp towels tightly into a basket. They need room to dry.
Before attaching anything, check the surface and the manufacturer’s installation guidance. Adhesive hooks may not suit textured tiles, wet areas, or heavy loads. Don’t drill into a wall unless you know where pipes and cables run; get help when you’re uncertain.
Keep a modest amount of backup stock. A month’s worth of supplies may fit comfortably where a large bulk purchase overwhelms the cupboard. The best amount depends on your household and how easily you can restock.
Buying organizers is tempting because it feels like a clear first step. But a new box doesn’t answer the question of whether its contents belong in your home. Start by reducing what you need to store.
Work through one small area and make four groups: keep here, move elsewhere, give away, and dispose of responsibly. Check expiry dates where relevant, separate damaged items, and identify duplicates. Don’t rush decisions about sentimental objects; give them a separate, manageable session.
Put the things you’re keeping back before buying anything. You may discover that an existing drawer is large enough once the unrelated items have gone. If something still needs a container, you can now measure the items it needs to hold.
Give outgoing items a next step and a date. A donation bag left in a hallway for months is still taking up space. Check local guidance for batteries, electronics, and other items that shouldn’t go into ordinary household waste.
Start with the area that interrupts your day most often. Try one change for a week, then notice what happens. If items keep collecting somewhere else, move their storage closer to where you use them.
Leave room to reach what you store and keep some surfaces free for daily use. A system is easier to maintain when putting something away takes only a moment.
Make a small kitchen easier to use with eight practical organization ideas for counters, cabinets, drawers and overlooked storage spaces.
Read article : 8 Simple Ways to Organize a Small KitchenMake room for the work in front of you with a practical desk layout, fewer loose cables and easy everyday storage.
Read article : A simple desk reset for a clearer workspaceA gentle way to put everyday things back in place and make tomorrow morning feel a little less rushed.
Read article : The ten-minute evening reset