10 Smart Organization Ideas for Small Spaces
Practical organization ideas that help make small homes feel cleaner, calmer and more functional.
Read article : 10 Smart Organization Ideas for Small SpacesMake a small kitchen easier to use with eight practical organization ideas for counters, cabinets, drawers and overlooked storage spaces.
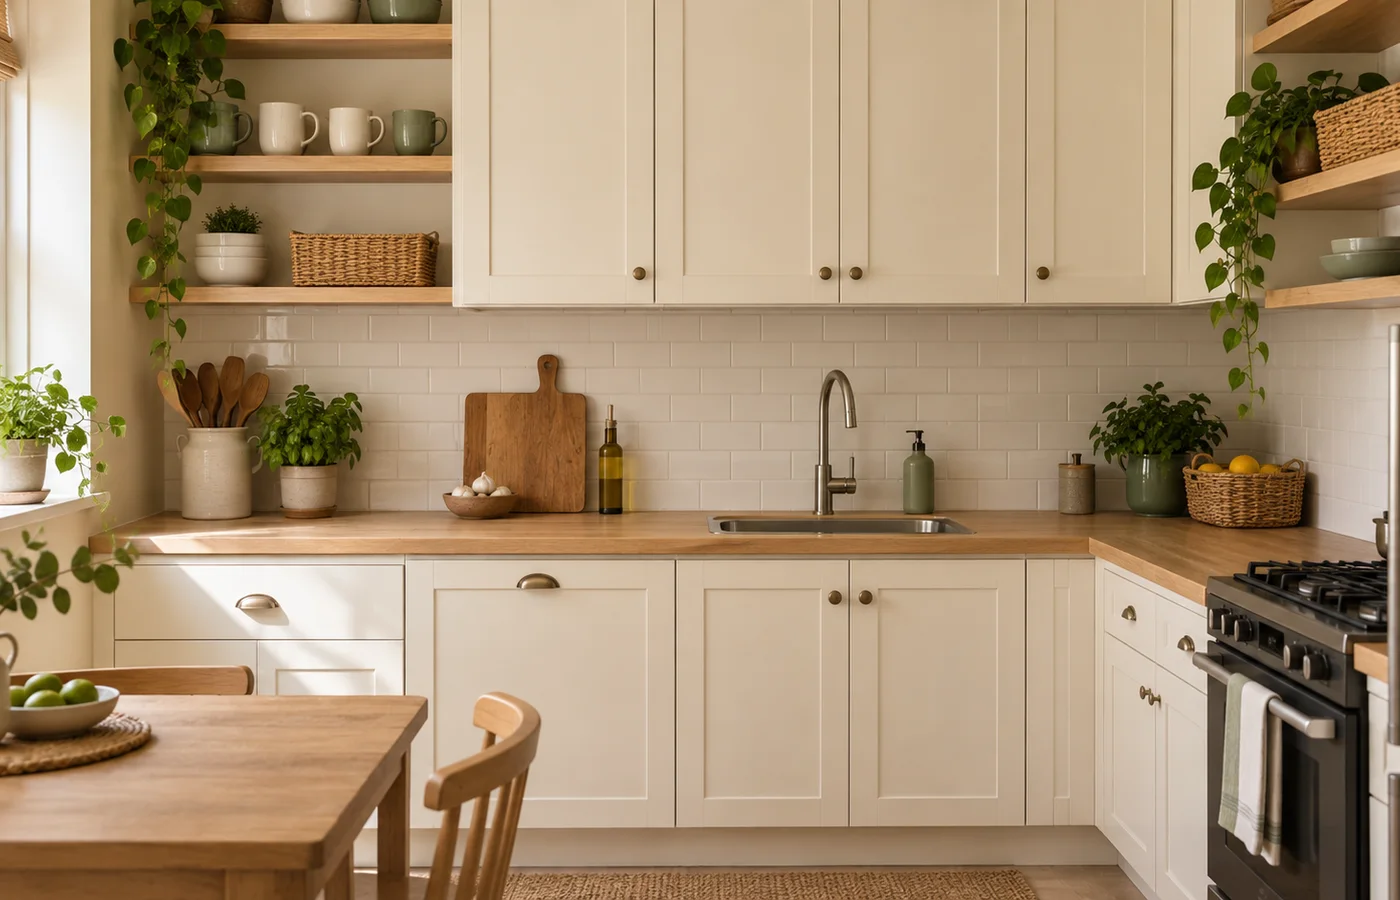
A small kitchen can feel crowded before you start cooking. The toaster takes up the space for chopping vegetables, a pile of bowls hides the plates, and the measuring spoon disappears into a drawer of unrelated tools.
Start with how you use the room. Keep everyday items easy to reach and leave enough counter space to prepare food. A kettle or coffee maker can stay out if you use it daily. Less frequent tools can move into a cabinet, leaving the surface available for the next task.
These small kitchen organization ideas cover counters, cabinets, and the spaces between them. Try one area at a time and use the containers you already have before buying more. For storage beyond the kitchen, see 10 Smart Organization Ideas for Small Spaces.
Choose the section where you usually prepare food. Move its contents aside and sort them by how often you use them: daily, occasionally, or rarely. Wipe the surface before deciding what returns.
A toaster used every morning may earn a permanent place. A blender used once a month could go in a lower cabinet where you can lift it out comfortably. Keep its attachments together so putting it away doesn’t make it harder to use next time.
Check items that have arrived from other rooms, too. Post, keys, and charging cables can occupy a kitchen surface without helping you cook. Give them a home near where you actually need them. In a shared household, agree on that place so everyone can find things.
Leave a clear area large enough for your cutting board and ingredients. Before adding a tray or utensil holder, check whether it leaves that working space usable. A tray can contain clutter, but you still have to lift it when cleaning underneath.
Open a cabinet and look at the gap above its contents. A short stack of plates might occupy only half the available height. If the shelves are adjustable, moving one down may create a more useful arrangement without adding anything.
Where adjustments aren’t possible, a shelf riser can separate two groups. Plates can sit below it with a few mugs above, provided the riser is stable and suitable for the load. Leave enough space to lift each item out without knocking the shelf or the things beside it.
Group bowls of similar sizes so they nest neatly. Keep stacks low enough to lift comfortably, and put heavier dishes on lower shelves. Avoid a tall mixed stack that requires removing several fragile items to reach one plate.
For pantry containers, check whether stacking will make daily use awkward. A box of occasional baking supplies can sit beneath another. The container you open every morning needs easier access. Make sure the cabinet door closes with the arrangement in place.
Empty one drawer and group what belongs there by task. Cooking utensils might share a section, with measuring tools in another and small food-prep accessories beside them. Return anything that belongs in a different room before planning the layout.
A utensil tray works well for regular shapes. Modular compartments can suit an awkward mix of peelers, clips, and measuring spoons. Try the arrangement with small boxes first, then open and close the drawer to see whether anything shifts or catches.
Measure the usable interior width, depth, and height. Drawer sides and runners can limit the space even when the front looks wide. Tall tools may need to lie flat, and a deep organizer can stop a shallow drawer from closing.
Leave enough room to grasp each item. When several tools must be moved to return a single spoon, the layout needs another look. Keep sharp tools in storage designed to protect their edges and prevent accidental contact; loose knives should not share a mixed accessory compartment.
The inside of a cabinet door may have room for measuring spoons, cleaning cloths, or another small group of lightweight items. A shallow holder can keep them visible without adding a container to the counter.
Check the door with the cabinet’s shelves and contents in place. The holder needs clearance from hinges and shelf edges throughout the door’s movement. Measure the gap when the door is closed, too. Something that fits while the door is open may collide with a shelf as it shuts.
Use fittings suited to the door material and follow the organizer’s mounting instructions and weight limit. An over-door bracket must allow the door to close normally. Avoid forcing it into a gap or putting a heavy load on a thin cabinet panel.
Pot lids need a holder designed for their size and weight, with clearance for their handles. If that fit is uncertain, keep them in a suitable cabinet rack instead. For cleaning supplies, choose storage that keeps them separate from food and out of children’s reach where needed.
Create categories that match your meals. Put breakfast supplies together, keep baking ingredients in one area, and give pasta or grains a shelf section. Snacks and canned food can have their own places. Adjust the categories to what your household buys.
Bring items forward so you can see what is already open before shopping. Keep duplicates behind the current packet and check the shelf before adding an item to your list. For a deep cabinet, a small removable basket can make the back accessible without reaching around other supplies.
Original packaging is often practical. It keeps ingredient lists, allergen details, and storage instructions with the food. Use a clip or a suitable sealed container when an opened packet needs protection. If you transfer food, retain the label and relevant date information so you know what it is and how to store it.
Keep pantry storage cool and dry, following each product’s instructions. The FDA’s food-storage guidance recommends keeping foods away from cleaning chemicals and checking canned goods for damage. Store household cleaners separately from pantry food.
A gap beside a cabinet might suit a narrow rolling cart. Measure the entire route where it will move, including handles, wheels, and nearby door swings. It needs to roll out without blocking a walkway or catching on an appliance.
A cabinet end may have space for a small shelf or hooks. Check the mounting surface and choose fixings suitable for it. A magnetic holder on a refrigerator side should be compatible with that surface, stay within its stated load, and hold lightweight items securely. Avoid placing anything where it can fall into a busy work area.
Space above cabinets can hold light, infrequently used belongings if you can reach it safely. Closed containers are easier to keep clean than loose items. Leave that space unused when access requires stretching or climbing onto a counter.
Before filling any appliance gap, check the manufacturer’s installation instructions. Keep ventilation openings, required clearances, electrical access, and heat sources clear. A gap needed for airflow has a job already. If a cart or shelf would interfere with safe appliance use, choose another location.
Watch where you stand for the jobs you repeat. Put mugs, coffee, and filters near the coffee maker, adding sweeteners there if you use them. A shelf or a drawer section can make a coffee zone without needing a separate piece of furniture.
Keep spatulas and frequently used cooking tools near the cooking area, with cutting boards and measuring tools close to your preparation surface. Store oil and spices according to their labels, away from direct heat even if that means using a nearby cabinet instead of the space beside the stove.
At the sink, keep dish soap and brushes where they are easy to use. Give damp cloths a place to dry rather than putting them straight into a closed container. Keep the surrounding surface clear enough to wipe after washing up.
Zones can overlap in a compact room. Put a tool used for several tasks in a shared, reachable spot. Try the arrangement while making a familiar meal: notice what requires an extra trip, what blocks a drawer, and what is awkward to return. Move those items before adding more storage.
As you work through the kitchen, set aside duplicate utensils and appliances you rarely use. Consider whether you need several versions of the same tool or whether one in good condition will cover the tasks you actually do. Occasional tools can stay if you have a reason to keep them and a suitable place for them.
Check food labels and storage instructions before deciding what to discard. Some date labels describe quality rather than safety; the FDA explains the distinction in its food-waste guidance. Follow applicable use-by instructions and discard food that is spoiled or otherwise unsafe. Reconsider unopened items you won’t use, checking local donation requirements before giving them away.
For unwanted cookware or appliances, check condition and local reuse or disposal options. Remove the outgoing items from your storage plan so they don’t remain packed in a corner for months.
Put the things you’re keeping back, then measure any remaining storage problem. You might need one divider, or a shelf moved slightly higher. Write down the contents and dimensions before shopping. That gives an organizer a specific job and helps you check whether it will fit.
Use this list after working through one area. You can tackle the remaining jobs on another day.
After a few meals, check the area you changed. If a tool keeps landing on the counter, give it an easier place to return to. If a shelf is difficult to reach, move its daily contents lower. Keep adjusting those details until the layout fits the way you cook.
Practical organization ideas that help make small homes feel cleaner, calmer and more functional.
Read article : 10 Smart Organization Ideas for Small SpacesMake room for the work in front of you with a practical desk layout, fewer loose cables and easy everyday storage.
Read article : A simple desk reset for a clearer workspaceA gentle way to put everyday things back in place and make tomorrow morning feel a little less rushed.
Read article : The ten-minute evening reset